| |
- Open [Windows Components Wizard], select
[Network Services] and click [Details...]

- Select [Dynamic Host Configuration
Protocol (DHCP)] and click [OK]

Configure DHCP Server
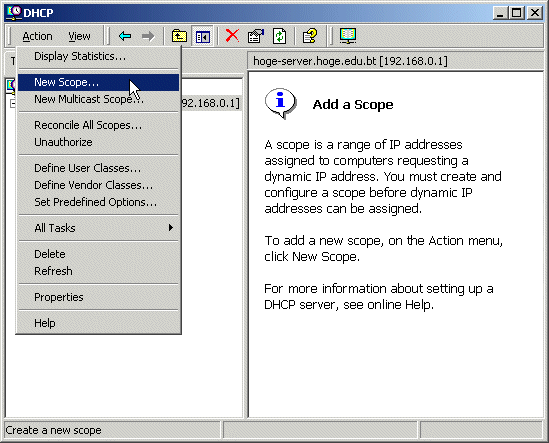
- Open [DHCP] window from [Start],
[Programs], [Administrative Tools] and [DHCP]. To add new scope, click
[Action] and [New Scope]
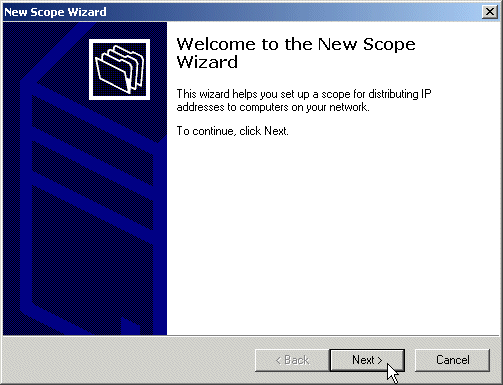
- Click [Next]
- Type Scope Name and click [Next]. This
can be any sensible name.

- Type IP Address Range and click [Next]
(Note: the start IP is 11 because the first 10 IP addresses has been
reserved, you can change this to whatever you want depending on how many
IP's you want to reserve. The end IP is 61 because we are using a subnet
of 255.255.255.192 which gives you 2 subnets and 62 hosts. This again can
be changed to suit the size of your business. You will also notice that
the length changes as your Subnet changes, so just leave this how it is.)

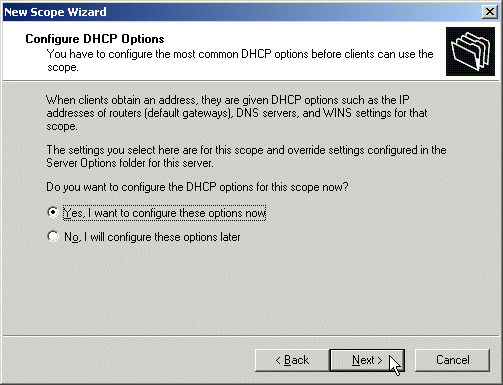
- Click [Next]

- Click [Next]

- Click [Next]
- Type Default Gateway IP Address and
click [Next]

- Type [Parent domain] name and DNS server
IP Address and click [Next] (Note: type in the server name "server01 then
click resolve, it then automatically gets the IP address of your server.)

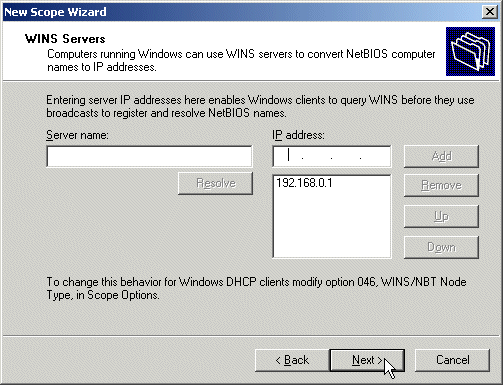
- Type WINS server IP Address and click
[Next]
- Click [Next]

- Click [Finish]

- After finishing installing Active
Directory, authorize the DHCP Server

|
|
